
Exploring OpenShift – Red Hat's next-generation PaaS tool
Gearbox
Linux market leader Red Hat has offered both cloud and platform technologies for a long time, so it was no big surprise when the Raleigh company started another cloud product in 2011. Red Hat's OpenShift [1] is a Platform-as-a-Service (PaaS) [2] product designed to support and encourage cloud integration for web developers. OpenShift exists as a web service (public cloud) or an on-premise private cloud (Figure 1).
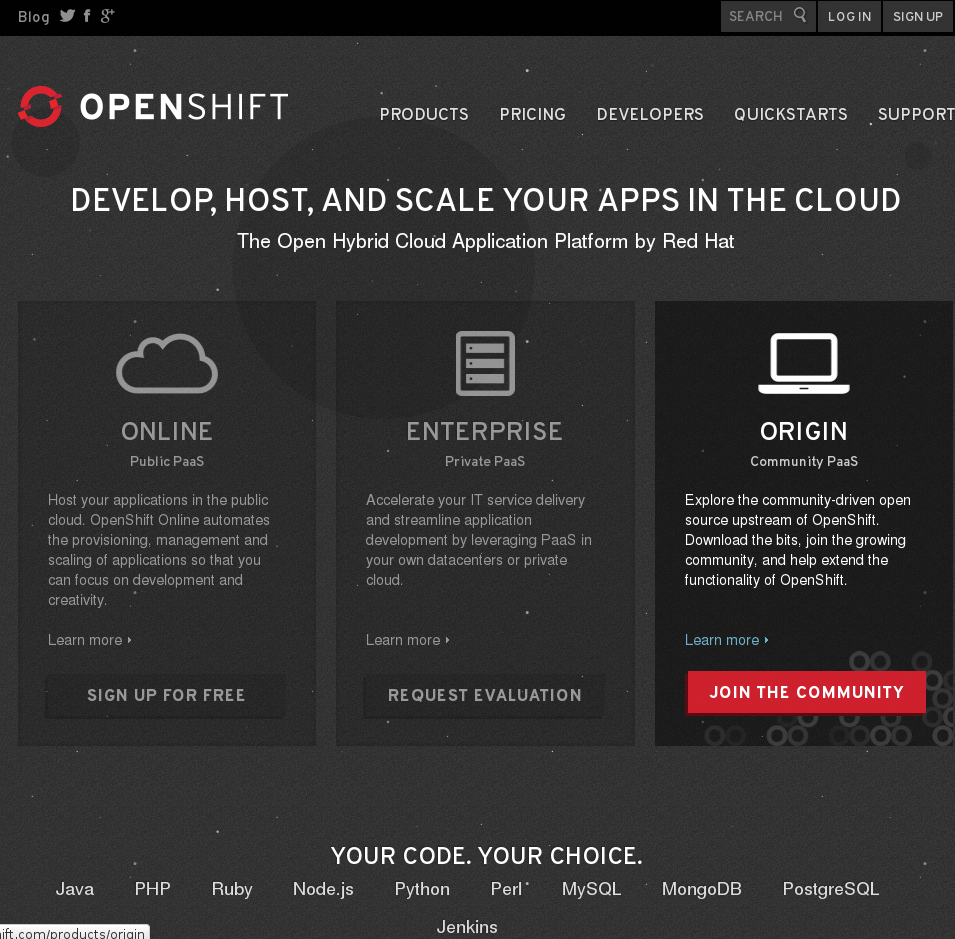
Written in Ruby, OpenShift supports Java and .NET (the two most popular PaaS languages, according to Gartner), as well as Haskell, JavaScript, Perl, PHP, Python, and, of course, Ruby. Developers can choose from several database systems (including MySQL, PostgreSQL, and MongoDB), and OpenShift also supports a long list of frameworks and APIs.
Beyond all the technical details, Red Hat wants OpenShift to become the run-time environment for everyone. The "Shift" is to be accomplished by gears, cartridges, applications, client tools, and automatic scaling mechanisms. The user just needs to understand some basic concepts of SSH and Git – and be aware of the overall OpenShift architecture. As a starting point, think of OpenShift as a public cloud reachable from your PC, integrated with OpenStack, and integrated with all the other cloud offerings from Red Hat.
Gears and Cartridges
Like other PaaS technologies, OpenShift is generally focused on web development. Only Ports 22, 80, 443, 8000, and 8443 are available from the outside world (SSH, HTTP, HTTPS, and two other ports). All applications running on OpenShift will only be accessible through these ports, and apps that need incoming traffic on other ports will not work properly.
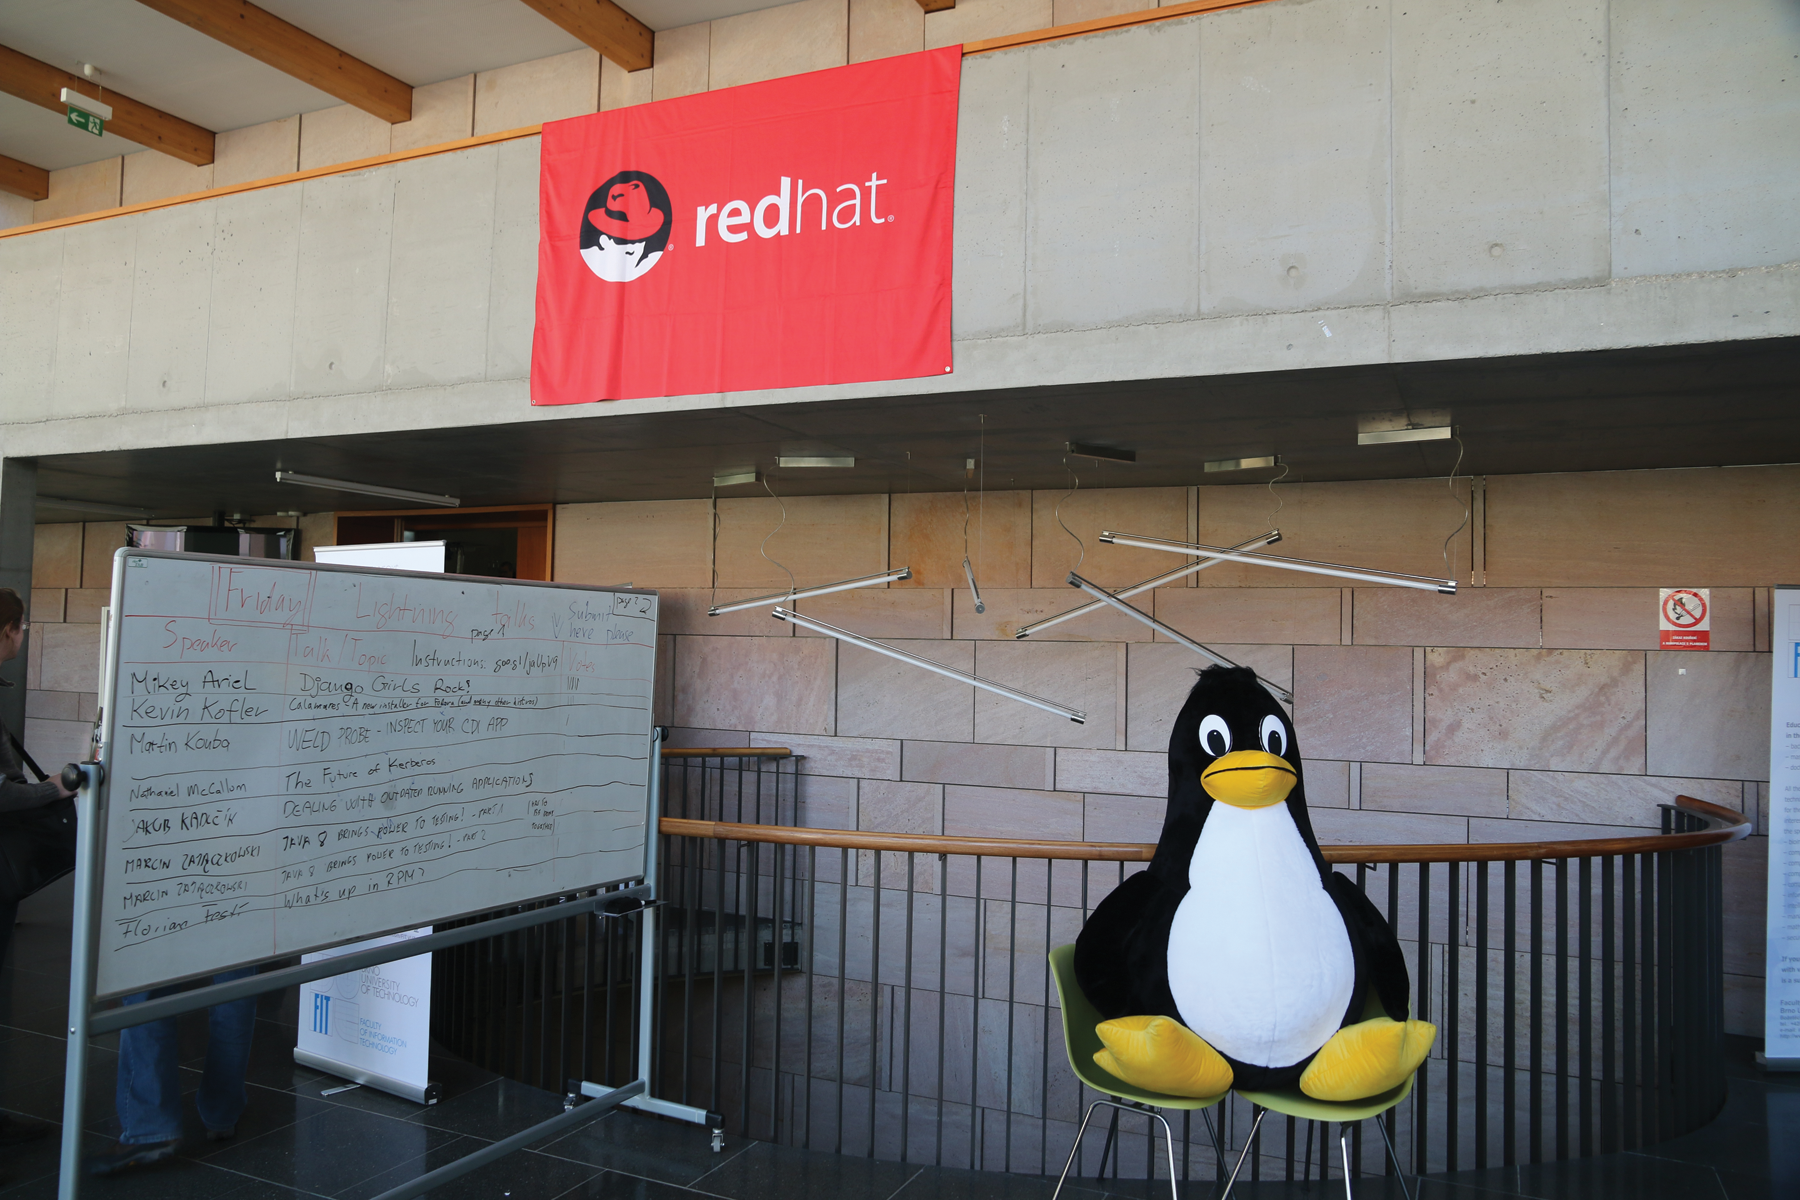
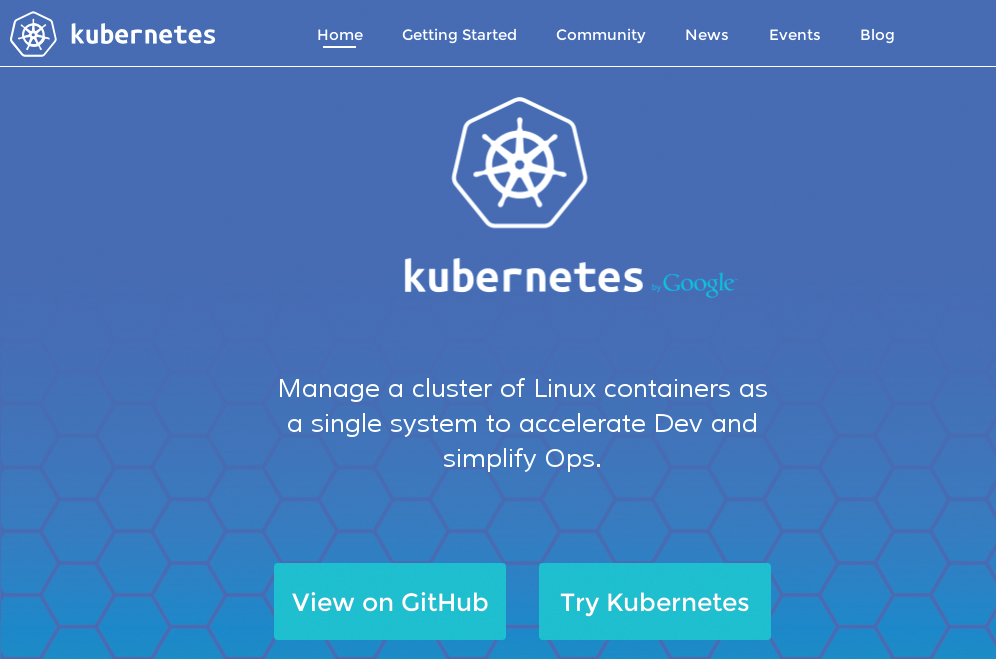
OpenShift provides server containers for user-specified applications. When Red Hat launched OpenShift at its annual summit in Boston 2011, the original version used a combination of SELinux and cgroups (instead of containers) to separate the different virtual machines securely. OpenShift v3, which is still in beta and was presented at DevConf 2015 Figure 2 [3], integrates Docker technology and Google's Kubernetes orchestration system (Figure 3).
Red Hat has developed its own terminology for the components of the OpenShift environment. A "gear" is a container running the user's application. Three types of gears are available, and they differ only in size of RAM or disk space.
Cartridges contain the frameworks or components needed to run applications – from JBoss to Node.js, from database servers to cron. A cartridge can be a standalone component like a framework, or it can be an embedded component that adds external functions to an application, such as cron or a database. You will almost always find more than one cartridge running on one gear, and a cartridge is not limited to a single gear.
Scaling is automatic: With its built-in HA Proxy, OpenShift will start new gears with more than 16 concurrent connections to an application. This automatic scaling is a very powerful and convenient features, as long as the programmer ensures the application can cope with being scaled.
Flavors
OpenShift comes in three flavors. You just need a Red Hat online account to start testing the free Online tier. OpenShift Enterprise, on the other hand, is the on-premise, private PaaS solution. The Enterprise project offers a web console; CLI or IDE; public, private, or hybrid cloud; and automatic application scaling by default.
OpenShift Origin [4] is the open source upstream version of OpenShift. On the website, you will find images for download (KVM, VirtualBox, and VMware), a video showing a concise guy describing how to use Puppet to build your own machine, and a deployment guide. If you want to install OpenShift yourself, follow the short and easy installation guide at the project website [5], where you'll also find prebuilt VMs. All you need is a running Red Hat or CentOS system.
Be aware that the M4 repositories on the OpenShift.org website contain OpenShift v2, and the M5 repositories lead to OpenShift v3. Version 3 offers several promising new features, but it is still in beta. (See the "OpenShift Version 3" box for more information.)
Client Tools
According to Red Hat, "OpenShift allows a choice of environments (UI, command line, IDE), but to get the most out of your applications, you'll want to at least use the OpenShift client tools (RHC). RHC is a Ruby gem, and requires Ruby and Git" [1].
RHC is a powerful collection of command-line tools for deploying and managing applications in the OpenShift environment. The RHC toolset includes dozens of simple commands for guiding and monitoring your OpenShift presence. Table 1 shows a sample of some important RHC commands. For a complete list, see the OpenShift website [1].
Tabelle 1: Examples of Red Hat Client Tools
|
Tool |
Description |
|---|---|
|
rhc setup |
Ensures your SSH and authentication information are correctly registered with the OpenShift server |
|
rhc domain-show |
Information on your namespace, including a list of applications |
|
rhc app-create |
Creates an application – various options and arguments let the user specify cartridges and define the execution environment |
|
rhc git-clone -a |
Clones the Git repository for the specified OpenShift application to the current directory |
|
rhc app start |
Starts an application |
|
rhc app stop |
Stops a running application |
|
rhc app-show |
Shows information on an OpenShift application; the |
|
rhc cartridge list |
Lists all available cartridges |
|
rhc cartridge add |
Adds a cartridge to an existing application |
|
rhc app snapshot save |
Stops the application and exports an archive containing the Git repository, database dumps, and other useful information |
|
rhc env-list |
Lists all the environment variables for the application |
Commons and Marketplace
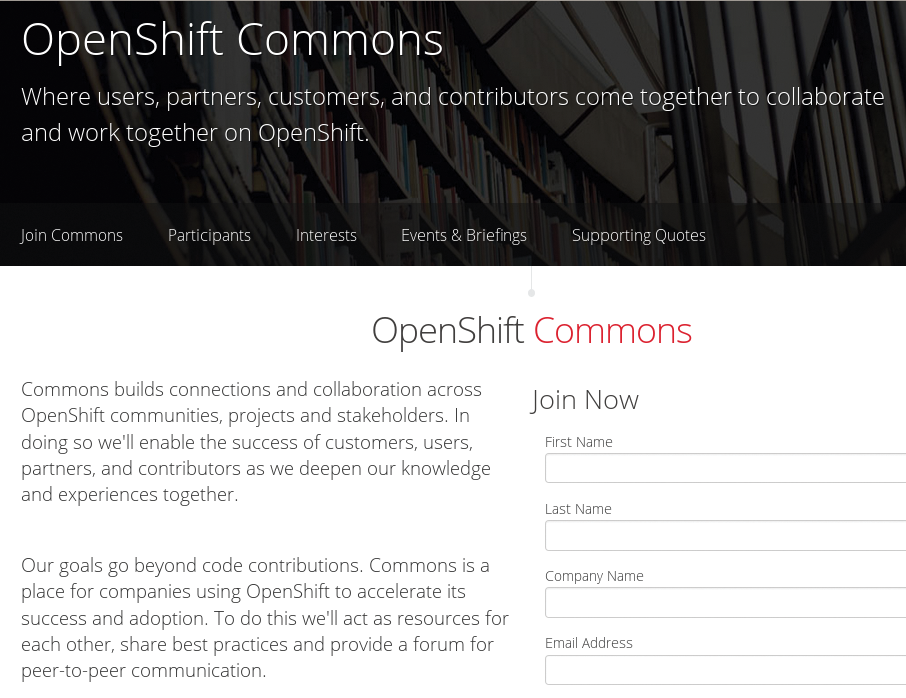
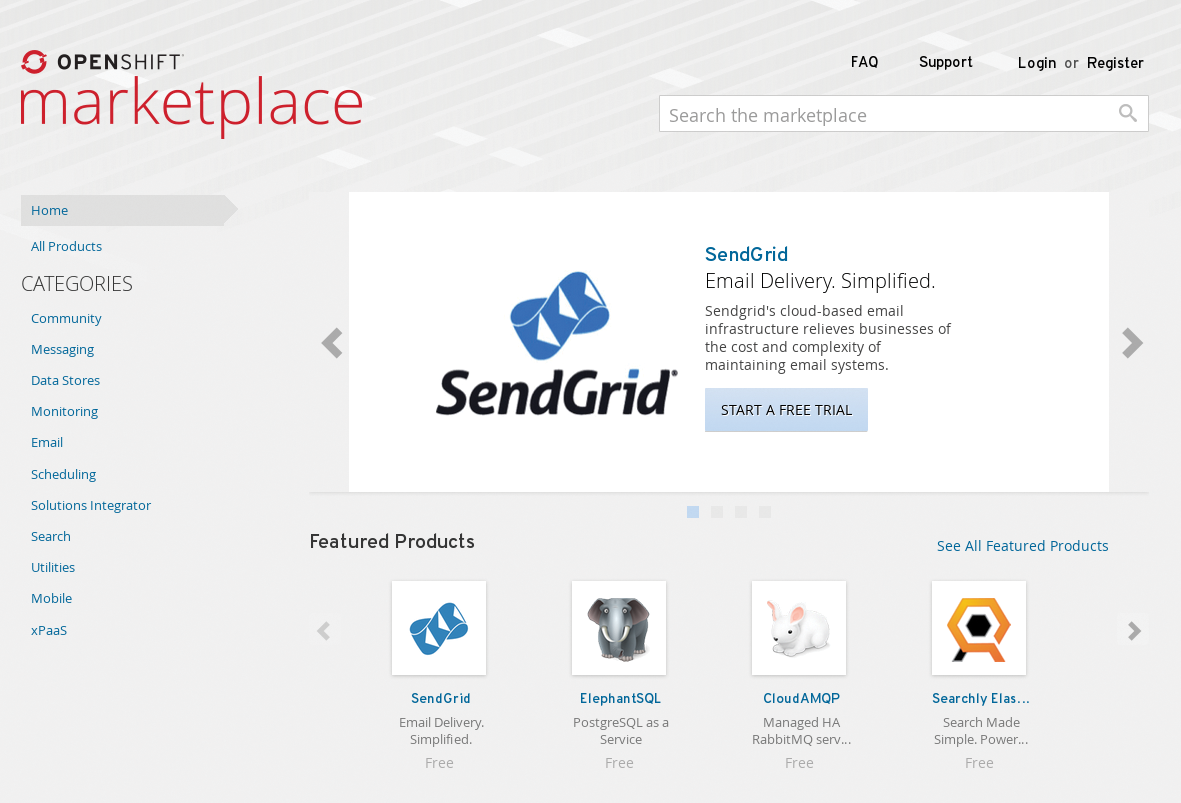
Red Hat is known for building ecosystems – complete communities surrounding its products. For OpenShift and its cloud landscape, Red Hat set up OpenShift Commons [9] (Figure 4) and the OpenShift Marketplace [10] (Figure 5). The commons is defined as "a place for companies using OpenShift to accelerate its success and adoption," and the Marketplace lets users, companies, and partners add their products to the OpenShift world, making them downloadable and deployable for everybody.
First Test
For a first test of the OpenShift environment, the free online version is absolutely sufficient. The online service still uses OpenShift v2, so the examples in the OpenShift Online User guide [11] still apply. You'll need knowledge of SSH, the basics of Git (which is how all configuration will be stored), and, of course, your favorite web application. As a first step, you'll need a Red Hat account – sign up on the OpenShift website, wait for the email, and log in to OpenShift Online (Figure 6).
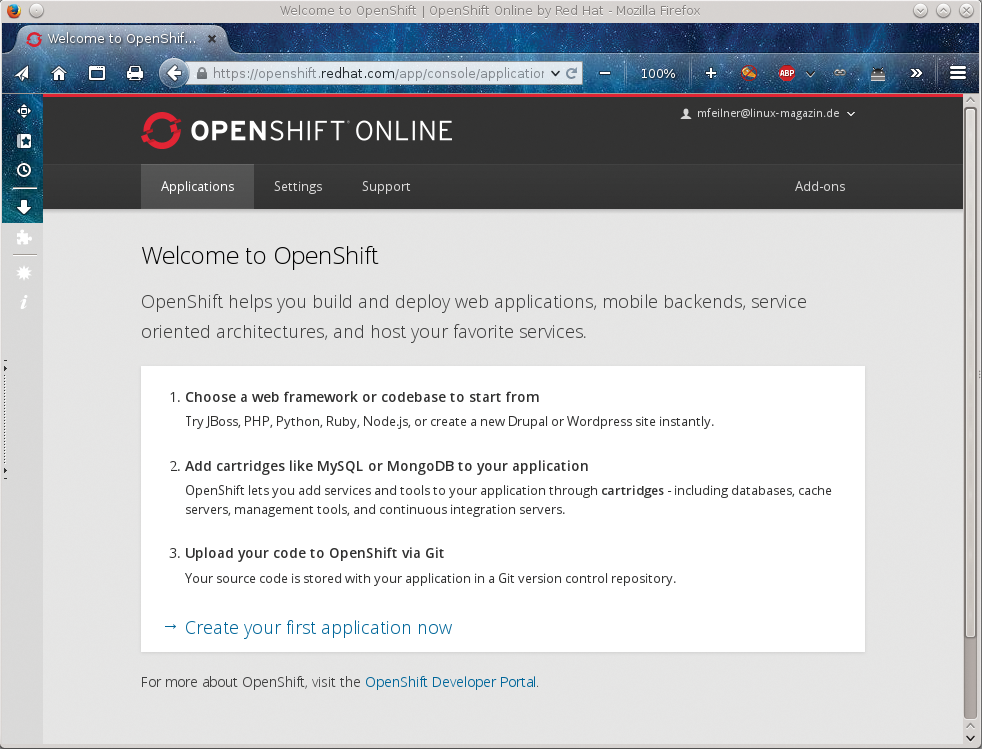
Once you have created a namespace and added your public key, hit Save, and wait for the confirmation. Next, you should install the RHC tools – the client tools for the OpenShift cloud. You can install the RHC tools either via Ruby gems (yum install rubygems and gem install rhc) or directly by typing yum install rubygem-rhc. Either way, after your Fedora, CentOS, or RHEL system has finished, you must configure it with rhc setup. Listing 1 shows the questions and example answers.
Listing 1: Configuring OpenShift
01 [mfeilner@desktop ~]$ rhc setup
02 OpenShift Client Tools (RHC) Setup Wizard
03
04 This wizard will help you upload your SSH keys, set your application \
   namespace, and check that other programs like Git are properly installed.
05
06 If you have your own OpenShift server, you can specify it now. \
   Just hit enter to use the server for OpenShift Online: openshift.redhat.com.
07 Enter the server hostname: |openshift.redhat.com|
08
09 You can add more servers later using 'rhc server'.
10
11 Login to openshift.redhat.com: mfeilner@linux-magazin.de
12 Password: **********
13
14 OpenShift can create and store a token on disk which allows to you to \
   access the server without using your password. The key is stored in your \
   home directory and should be kept secret.  You can delete the key at
15 any time by running 'rhc logout'.
16 Generate a token now? (yes|no) yes
17 Generating an authorization token for this client ... lasts about 1 month
18
19 Saving configuration to /home/mfeilner/.openshift/express.conf ... done
20
21 Checking for git ... found git version 2.1.0
22
23 Checking common problems .. done
24
25 Checking for a domain ... feilner
26
27 Checking for applications ... none
28
29 Run 'rhc create-app' to create your first application.
30
31   Do-It-Yourself 0.1                      rhc create-app <app name> diy-0.1
32   JBoss Application Server 7              rhc create-app <app name> jbossas-7
33   JBoss Data Virtualization 6             rhc create-app <app name> \
                                               jboss-dv-6.1.0
34   JBoss Data Virtualization 6             rhc create-app <app name> \
                                               jboss-dv-6.0.0
35   JBoss Enterprise Application Platform 6 rhc create-app <app name> \
                                               jbosseap-6
36   JBoss Unified Push Server 1.0.0.Beta1   rhc create-app <app name> \
                                               jboss-unified-push-1
37   Jenkins Server                          rhc create-app <app name> jenkins-1
38   Node.js 0.10                            rhc create-app <app name> \
                                                nodejs-0.10
39   PHP 5.3                                 rhc create-app <app name> php-5.3
40   PHP 5.4                                 rhc create-app <app name> php-5.4
41   PHP 5.4 with Zend Server 6.1            rhc create-app <app name> zend-6.1
42   Perl 5.10                               rhc create-app <app name> perl-5.10
43   Python 2.6                              rhc create-app <app name> \
                                                python-2.6
44   Python 2.7                              rhc create-app <app name> \
                                                python-2.7
45   Python 3.3                              rhc create-app <app name> \
                                                python-3.3
46   Ruby 1.8                                rhc create-app <app name> ruby-1.8
47   Ruby 1.9                                rhc create-app <app name> ruby-1.9
48   Ruby 2.0                                rhc create-app <app name> ruby-2.0
49   Tomcat 6 (JBoss EWS 1.0)                rhc create-app <app name> \
                                                jbossews-1.0
50   Tomcat 7 (JBoss EWS 2.0)                rhc create-app <app name> \
                                                jbossews-2.0
51   Vert.x 2.1                              rhc create-app <app name> \
                                                jboss-vertx-2.1
52   WildFly Application Server 8.2.0.Final  rhc create-app <app name> \
                                                jboss-wildfly-8
53
54   You are using 0 of 3 total gears
55   The following gear sizes are available to you: small
56
57 Your client tools are now configured.
As a last service, the Setup tool shows available applications and the number of free gears. In the free version, only small gears are available. The command rhc cartridge list shows a complete list of all available cartridges (Listing 2).
Listing 2: Listing Available Cartridges
01 [mfeilner@desktop ~]$ rhc cartridge list
02 jbossas-7                JBoss Application Server 7              web
03 jboss-dv-6.0.0 (!)       JBoss Data Virtualization 6             web
04 jboss-dv-6.1.0 (!)       JBoss Data Virtualization 6             web
05 jbosseap-6 (*)           JBoss Enterprise Application Platform 6 web
06 jboss-unified-push-1 (!) JBoss Unified Push Server 1.0.0.Beta1   web
07 jenkins-1                Jenkins Server                          web
08 nodejs-0.10              Node.js 0.10                            web
09 perl-5.10                Perl 5.10                               web
10 php-5.3                  PHP 5.3                                 web
11 php-5.4                  PHP 5.4                                 web
12 zend-6.1                 PHP 5.4 with Zend Server 6.1            web
13 python-2.6               Python 2.6                              web
14 python-2.7               Python 2.7                              web
15 python-3.3               Python 3.3                              web
16 ruby-1.8                 Ruby 1.8                                web
17 ruby-1.9                 Ruby 1.9                                web
18 ruby-2.0                 Ruby 2.0                                web
19 jbossews-1.0             Tomcat 6 (JBoss EWS 1.0)                web
20 jbossews-2.0             Tomcat 7 (JBoss EWS 2.0)                web
21 jboss-vertx-2.1 (!)      Vert.x 2.1                              web
22 jboss-wildfly-8 (!)      WildFly Application Server 8.2.0.Final  web
23 diy-0.1                  Do-It-Yourself 0.1                      web
24 10gen-mms-agent-0.1      10gen Mongo Monitoring Service Agent    addon
25 cron-1.4                 Cron 1.4                                addon
26 jenkins-client-1         Jenkins Client                          addon
27 mongodb-2.4              MongoDB 2.4                             addon
28 mysql-5.1                MySQL 5.1                               addon
29 mysql-5.5                MySQL 5.5                               addon
30 phpmyadmin-4             phpMyAdmin 4.0                          addon
31 postgresql-8.4           PostgreSQL 8.4                          addon
32 postgresql-9.2           PostgreSQL 9.2                          addon
33 rockmongo-1.1            RockMongo 1.1                           addon
34 switchyard-0             SwitchYard 0.8.0                        addon
35 haproxy-1.4              Web Load Balancer                       addon
36
37 Note: Web cartridges can only be added to new applications.
38
39 (*) denotes a cartridge with additional usage costs.
40
41 (!) denotes a cartridge that will not receive automatic security updates.
42 [mfeilner@desktop~]$
Creating an Application
The next step is to create your first application. Click on the link labeled Create your first application now in OpenShift Online's web interface, or type rc app create, followed by the name of the app and the type of the cartridge (Listing 3).
Listing 3: Creating an Application
01 mfeilner@desktop ~] rhc app create MyFirstApp python-2.7
02 Application Options
03 -------------------
04 Domain:     feilner
05 Cartridges: python-2.7
06 Gear Size:  default
07 Scaling:    no
08
09 Creating application 'MyFirstApp' ... done
10
11
12 Waiting for your DNS name to be available ... done
13
14 Clones for 'myfirstapp'...
15 The authenticity of host 'myfirstapp-feilner.rhcloud.com \
   (54.89.183.121)' can't be established.
16 RSA key fingerprint is cf:ee:77:cb:0e:fc:02:d7:72:7e:ae:80:c0:90:88:a7.
17 Are you sure you want to continue connecting (yes/no)? yes
18 Warning: Permanently added 'myfirstapp-feilner.rhcloud.com,\
   54.89.183.121' (RSA) to the list of known hosts.
19 Connection closed by 54.89.183.121
20 fatal: Could not read from remote repository.
21
22 Please make sure you have the correct access rights
23 and the repository exists.
24 Unable to clone your repository.
25
26 (...)
27
28 Your application 'myfirstapp' is now available.
29
30   URL:        http://myfirstapp-feilner.rhcloud.com/
31   SSH to:     55060dfae0b8cd7df90000b6@myfirstapp-feilner.rhcloud.com
32   Git remote: ssh://55060dfae0b8cd7df90000b6@myfirstapp-feilner.rhcloud.com\
                     /~/git/myfirstapp.git/
33
34 Run 'rhc show-app MyFirstApp' for more details about your app.
35 mfeilner@desktop ~] rhc show-app MyFirstApp
36 myfirstapp @ http://myfirstapp-feilner.rhcloud.com/ \
   (uuid: 55060dfae0b8cd7df90000b6)
37 ----------------------------------------------------------------------
38   Domain:     feilner
39   Created:    Mar 15 11:55 PM
40   Gears:      1 (defaults to small)
41   Git URL:    ssh://55060dfae0b8cd7df90000b6@myfirstapp-feilner.rhcloud.com\
                     /~/git/myfirstapp.git/
42   SSH:        55060dfae0b8cd7df90000b6@myfirstapp-feilner.rhcloud.com
43   Deployment: auto (on git push)
44
45   python-2.7 (Python 2.7)
46   -----------------------
47     Gears: 1 small
You can always get more information about your gear(s) with the rhc show-app tool. However, rhc app create encountered a problem: You have not yet specified a configuration for this application. Because this configuration would be stored in a Git repository that does not yet exist, the Red Hat tools failed to locate it.
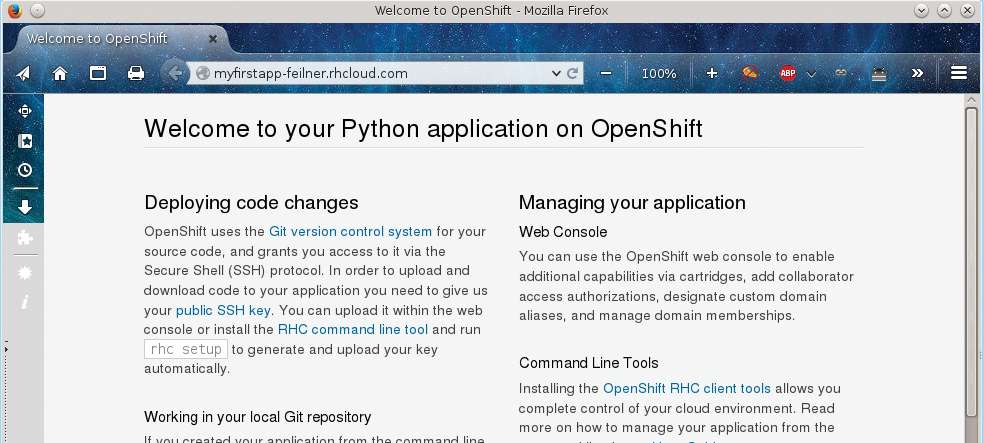
You can delete apps with rhc del app (Listing 4); the OpenShift configuration and tokens will reside in ~/.openshift/. Nevertheless, if you start rhc setup now, it will tell you, You are using 1 of 3 total gears – your first container is running! If you don't believe it, visit the URL offered (Figure 7).
Listing 4: Deleting an App
01 rhc app delete myfirstapp
02 This is a non-reversible action! Your application code and \
   data will be permanently deleted if you continue!
03
04 Are you sure you want to delete the application 'myfirstapp'? (yes|no): yes
05
06 Deleting application 'myfirstapp' ... deleted
The next step is to set up your own Git repository with all the features you want your app to have (see the OpenShift Users Guide [11] for more on setting up a Git repository for OpenShift).
Via Web Interface
You can also create an application through the OpenShift Online web interface. Just click on Applications, select an app you want – I tried the WordPress 4 blog engine – and fill in the configuration data that the app of your choice might ask from you. Please note that, if you select auto-scaling from the drop-down menu, you must make sure your app is aware of a scaling mechanism. Some types of applications might fail if they are not configured for such a scenario (Figure 8).
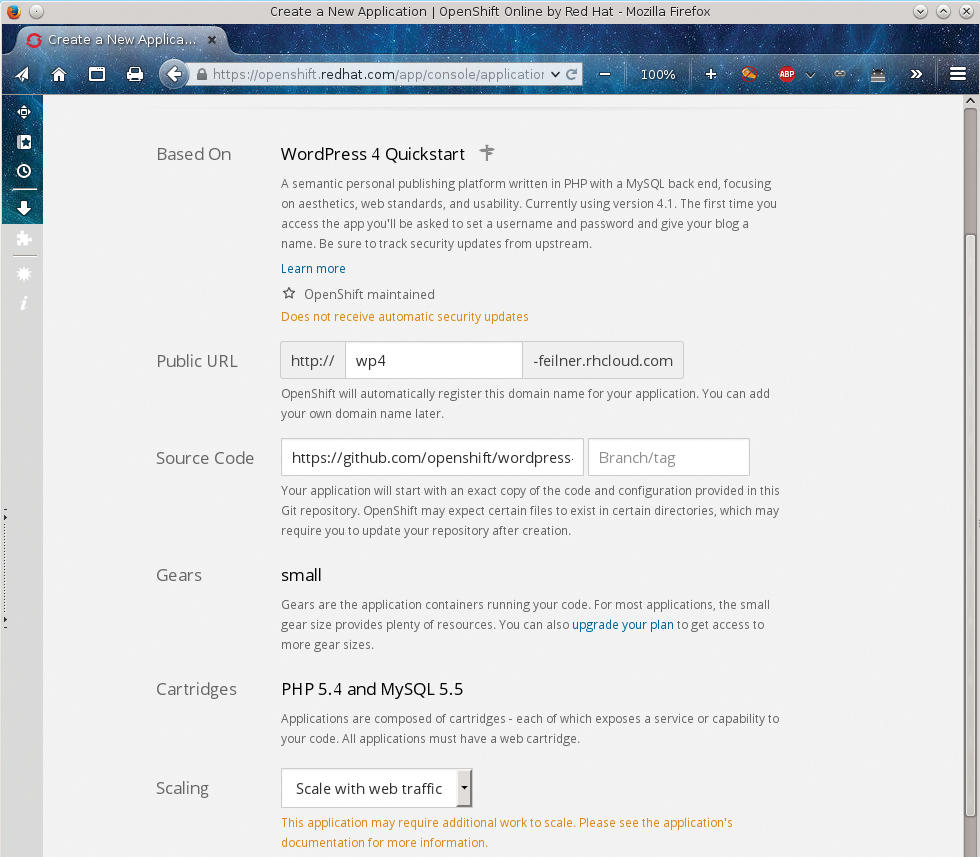
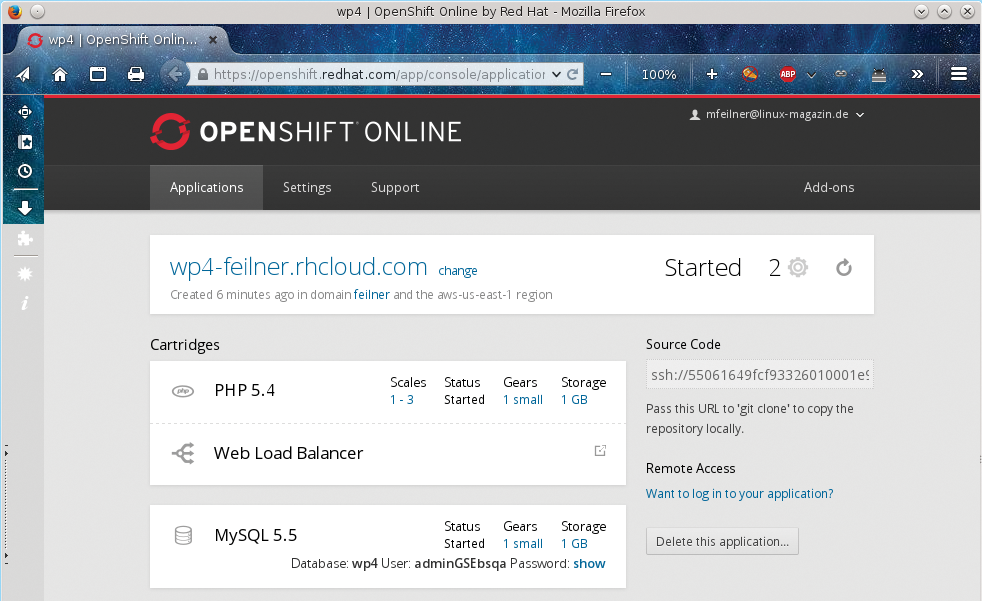
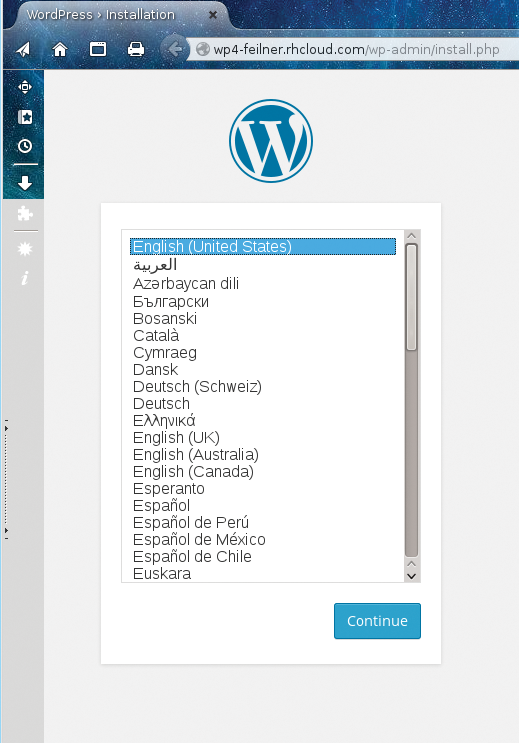
When you finish the configuration information, click on Create Application. If your first app from the previous example is still running, you will see a small +2 and a gear symbol on the bottom of this site. This symbol means you have two more gears available. After some waiting, OpenShift will show you a window with some information – if you chose WordPress, you'll receive the database's root password, DB name, and a URL to use to reach the application (Figures 9 and 10). The rest of the page explains how to set up a valid Git repository for your needs.
Conclusion
OpenShift has had time to mature. After almost five years, the OpenShift project is at the brink of version 3, which will bring interesting new features. Red Hat's gearbox is a fast and easy-to-learn tool for web developers. Auto-scaling and easy web-based or command-line management tools make OpenShift a very interesting cloud toolbox. If you're in websites, or if you just need a quick blog or database server, try OpenShift. For those who want to learn more than this article can offer, I recommend the free, helpful, and introductory O'Reilly ebook Getting Started with OpenShift [12].
