
Web-based reconnaissance
Recon
The Metasploit Framework Project and the Social Engineer Toolkit (SET) are two great frameworks used by penetration testers to automate exploitation of known vulnerabilities.
Recon-ng [1], an open source web reconnaissance (recon) framework coded in Python by Tim Tomes (LaNMaSterR53), is the third such framework to have been unleashed. Tomes and other programmers have written numerous modules for recon-ng, which comb social websites and domains to harvest names of users, contacts, companies, repositories, and much more.
In traditional reconnaissance, you gather information visually or through published material on people and places. Today, however, most people take pictures, tweet, and upload content to social websites from mobile devices, which embed time and geographical coordinates in each item (unless you've disabled location services), revealing where you eat, sleep, work, and play. Although this is a frightening thought, location services also help you navigate unfamiliar cities, find restaurants and shops, and discover whether you left your smartphone at home, work, or somewhere else in the hustle and bustle of a busy day.
In advanced recon, you can develop a storyline efficiently – instead of searching people down manually – enumerate server-side technologies, discover live vulnerabilities, and harvest full credentials. From the defense perspective, the goal is to see implemented technologies and configurations, search for vulnerable code snippets using GitHub dorks (specialized search syntax), and identify weaknesses in physical security. By using the recon-ng Pushpin module, you can conduct remote physical security analysis to identify YouTube videos, Twitter tweets, and Flickr photos in a defined geographical area.
Acquiring API keys are a requirement of this endeavor. For more information, you can check out the framework's wiki [2]. To install recon-ng and its dependencies (on Debian), enter the commands in Listing 1. To run, enter ./recon-ng.py. Adding the -h switch lists the run-time options.
Listing 1: Installing recon-ng
$ sudo apt-get install git python-pip python-dnspython python-mechanize python-slowaes python-xlsxwriter python-jsonrpclib python-lxml
$ sudo pip install dicttoxml
$ git clone https://LaNMaSteR53@bitbucket.org/LaNMaSteR53/recon-ng.git
$ cd recon-ng
Before starting a project, you should create a workspace, which saves you from having to configure global options or databases every time you recon a particular source. Each workspace has its own directory under ~/.recon-ng/workspaces/ that contains a recon-ng database, a configuration file, and reports and other information output from the different modules. Table 1 lists the common workspace commands. You can also create or load a workspace at run time with the -w switch on startup:
./recon-ng -w <workspace>
Once you start recon-ng, you should see the [recon-ng] > prompt.
Tabelle 1: Workspace Commands
|
Command |
Function |
|---|---|
|
|
Create a new workspace. |
|
|
Load an existing workspace. |
|
|
Delete a workspace. |
|
|
List all workspaces; also, |
First Recon
The first step is to select and verify a range of IP addresses – an important step if you don't want to end up with a block of IPs, only to find out that not all of them belong to the company of interest. As an example in this article, I scan the website for the U.S. Bureau of Alcohol, Tobacco, Firearms, and Explosives (ATF) [3].
To begin, I load the workspace (Listing 2). You might get some errors showing some of the modules didn't load and require dependences, but you don't need to worry about that now. Next, you need to "seed" the database with information that modules use to create other data for input to other modules. The add command accomplishes the seeding task. You can read about add and other recon-ng features in the Usage Guide [4].
Listing 2: Seeding the Database
[recon-ng] > workspaces select atf.gov
[recon-ng][atf.gov] > add domains atf.gov
[recon-ng][atf.gov] > add companies
company (TEXT): atf.gov
description (TEXT): bureau of alcohol, tobacco, firearms and explosives
[recon-ng][atf.gov] >
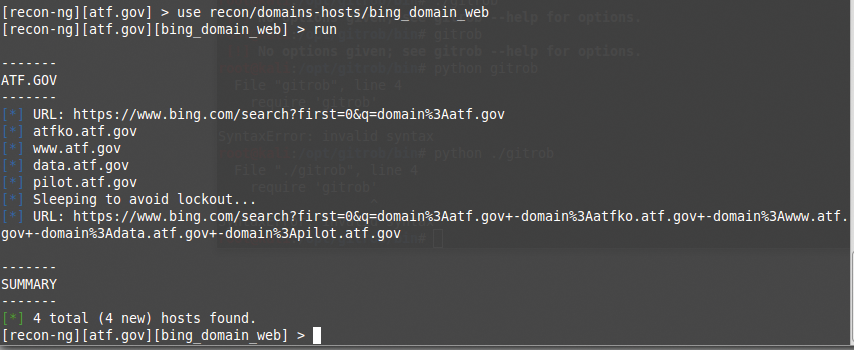
Now I can search for domain names in places like Bing, Google, or Baidu (a Chinese search engine). The first two lines in the example in Figure 1 and Listing 3 show a search on Bing. The use command loads the bing_domain_web module (see the "Modules" box).
Listing 3: Searching Bing for Domain Names
[recon-ng][atf.gov] > use recon/domains-hosts/bing_domain_web
[recon-ng][atf.gov][bing_domain_web] > run
[recon-ng][atf.gov][bing_domain_web] > use recon/domains-host/brute_hosts
[recon-ng][atf.gov][brute_hosts] > run
Entering run returns four domains, but I can do better, so the next two lines in Listing 3 brute-forces subdomains with the brute_hosts module. Every time I load a module, the context of the framework changes. The show and help commands let me see what commands and options are at my disposal in the present context.
To get a sense of where I am, then, I can look at the Activity Summary with the show dashboard command (Figure 2), which shows that I have run four modules one time each. The Results Summary shows that I have found 10 hosts in the one domain, as well as the modules that I can use in this context.

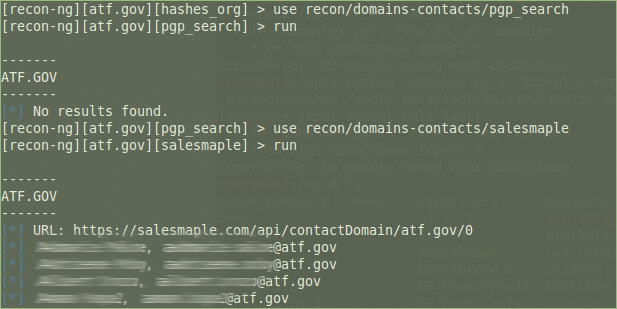
The next step is to look for email addresses for people who work for the ATF, first with the pgp_search module (an MIT public PGP key server search for email addresses), which returns no results, then with the salesmaple module (search of the SalesMaple API), which returns four results (Figure 3; Listing 4). Investigating further, the whois_pocs module returns two total (2 new) contacts (not shown). All three of these modules update the contacts table in the database.
Listing 4: Finding Email Addresses
[recon-ng][atf.gov][hashes_org] > use recon/domains-contacts/pgp_search
[recon-ng][atf.gov][pgp_search] > run
[recon-ng][atf.gov][pgp_search] > use recon/domains-contacts/salesmaple
[recon-ng][atf.gov][salesmaple] > run
[recon-ng][atf.gov][salesmaple] > use recon/domains-contacts/whois_pocs
[recon-ng][atf.gov][whois_pocs] > run
To find second-level domains, I used the brute_suffix module, which brute-forces the top-level domain and updates the domains table. When I ran this, it found 119 (115 new) domains (not shown); however, not all of the returns were in my scope (e.g., atf.org.za).
Netcraft [6] provides Internet security services, including antifraud and antiphishing services, application testing, and PCI scanning, and the netcraft plugin harvests hosts from netcraft.com (Figure 3; no new hosts were found), whereas the shodan_hostname plugin harvests hosts from the Shodan API by using the hostname search operator. Both modules update the hosts table of the database with their results.
Next, I test the vpnhunter plugin to see if there is a service that discovers and classifies the VPNs and other remote access services of any organization. Given their nature, remote access services inherently must hang off the public internet, allowing attackers to find them and attempt to gain access to an organization's internal network by compromising weak credentials through malware and phishing attacks. This module uses the content of the domains database table and outputs to the hosts table. In my test, I found one total (1 new) host.
Geolocation
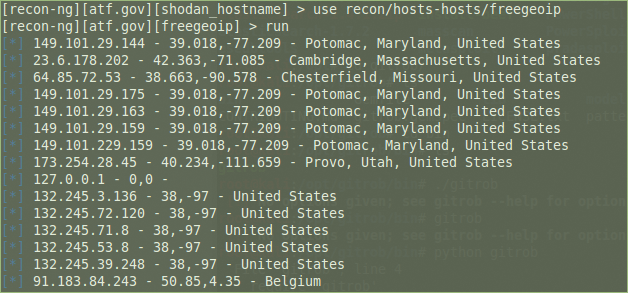
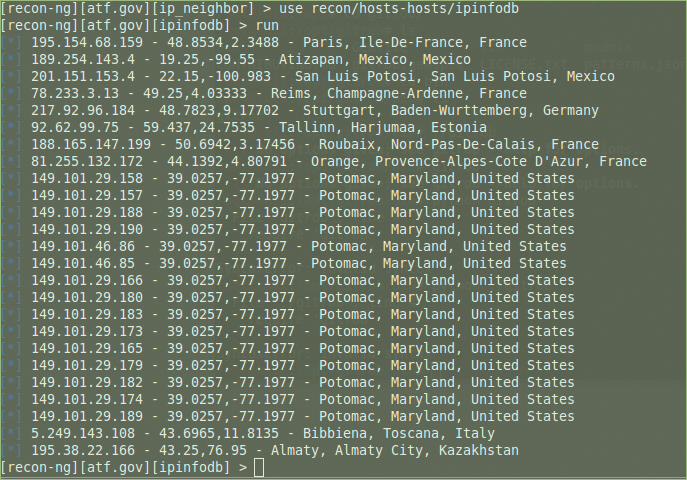
The freegeoip plugin provides a public HTTP API for software developers to geolocate hosts by IP address. It uses a database of IP addresses associated with cities, along with other information like time zone, latitude, and longitude (Figure 4). The ipinfodb plugin also works on IP addresses but through ipinfodb.com, which provides high-quality geolocation services for free (Figure 5). Both modules update the hosts table.
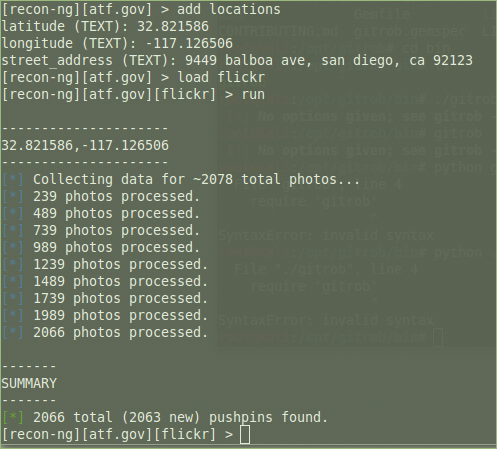
The pushpin module takes data harvested from Flickr, Instagram, Twitter, and other social sites in an area around a specified geolocation and posts the data on a map. To begin, I need to add a location of interest to the database, so I search for an ATF.gov location; I am in San Diego, so I will look there. Google found an address on Balboa Avenue, so I enter the geographic coordinates and address into the database (Listing 5). If you have an address, but not the geographic coordinates, you can add the address to the locations table and use the geocode module to populate the latitude and longitude fields.
Listing 5: Finding Social Media Pushpins
[recon-ng][atf.gov] > add locations
latitude (TEXT): 32.821586
longitude (TEXT): -117.126506
street_address (TEXT): 9449 balboa ave, san diego, ca 92123
[recon-ng][atf.gov] > load geocode
[recon-ng][atf.gov][geocode] > load flickr
[recon-ng][atf.gov][flickr] > run
[recon-ng][atf.gov][flickr] > load picasa
[recon-ng][atf.gov][picasa] > run
[recon-ng][atf.gov][picasa] > use recon/locations-pushpins/twitter
[recon-ng][atf.gov][twitter] > run
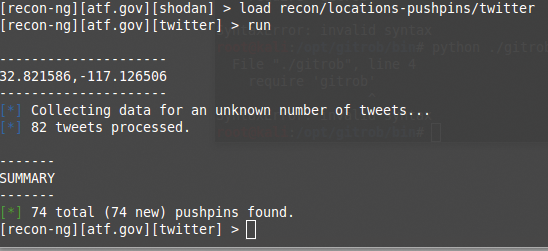
Next, I load the flickr module (note that load has the same functionality as use), which outputs to the pushpins table. I repeat the load/run process for the picassa and twitter modules. Figures 6 and 7 show the results for Flickr and Twitter.
Reporting
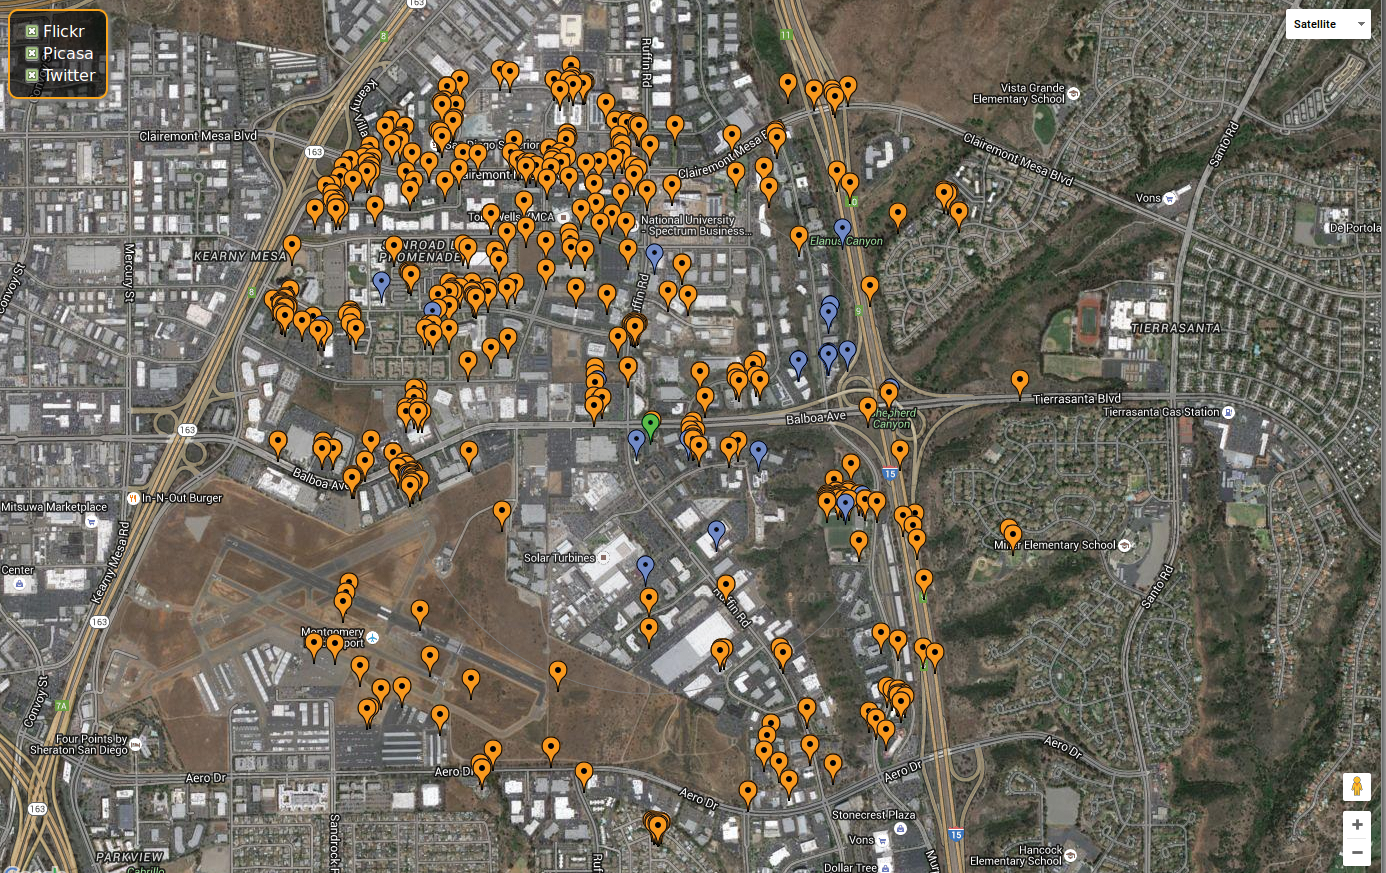
To visualize this data, I start by loading the pushpin module (Listing 6). This module has three required options that do not have default values, so I need to set them before I run the module. I use the coordinates for the ATF location on Balboa and set the radius to 1 kilometer. After the pushpin module is run, I have two files: pushpin_media.html and pushpin_map.html. The map file is most interesting. When opened in a browser (Figure 8), you see a nice view of the area with the pictures and tweets mapped. The green dot at the center of the map is the location I set in Listing 6. By clicking through this information, I can begin to build associations between people, places, and things.
Listing 6: Setting the pushpin Options
[recon-ng][atf.gov][twitter] > load reporting/pushpin
[recon-ng][atf.gov][pushpin] > set LATITUDE 32.821586
[recon-ng][atf.gov][pushpin] > set LONGITUDE -117.126506
[recon-ng][atf.gov][pushpin] > set RADIUS 1
[recon-ng][atf.gov][pushpin] > run
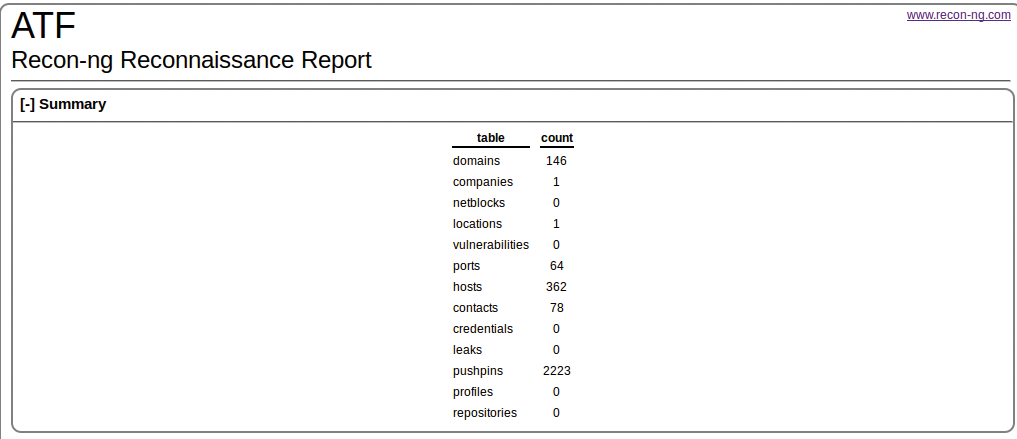
Figure 9 shows all the recon-ng reporting features. You can make report output as CSV, HTML, JSON, LIST, and XML, and I just finished a report using the pushpin data. To create an HTML report, I entered the commands shown in Listing 7. After opening the output file in a browser, I see the summary shown in Figure 10. To drill down into the report, I can just click on one of the tables. For example, clicking on contacts brings up a new report with names, email addresses, and modules that sourced the data.

Listing 7: Creating an HTML Report
[recon-ng][atf.gov][geocode] > use reporting/html
[recon-ng][atf.gov][html] > set CREATOR ATF
CREATOR => ATF
[recon-ng][atf.gov][html] > set CUSTOMER ATF
CUSTOMER => ATF
[recon-ng][atf.gov][html] > run
Conclusion
Tomes, the author of recon-ng, emphasizes the importance of reconnaissance as a part of penetration testing. The Recon-ng framework, he says, can take you from no information to "gaining credentials to the target environment. All without sending a single packet to the target network" [7].
